It's Almost The Most Wonderful Time of the Year
With Halloween just days away, the holidays will be here before you know it. Pretty soon you'll be sitting around the table with your loved ones enjoying juicy, roast turkey and grandma's delicious homemade pumpkin pie that no one else can quite replicate. It's probably the magical touch of love she folds into the pie that makes it taste so good. Before we can enjoy the magic and warmth of loved ones gathering and good things to eat, there's prep work, right?
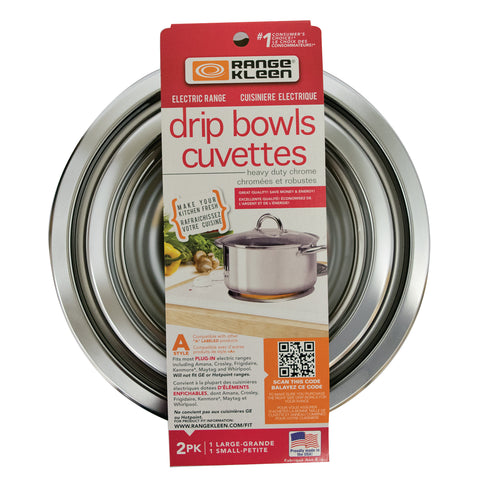
Now is the perfect time to start prepping your kitchen for all of the cooking and baking on the horizon. A quick and easy way to update your kitchen is to change our your drip bowls (or pans). It's such an easy chore to take care of and can upgrade your range from unsightly to holiday ready in just a few minutes.
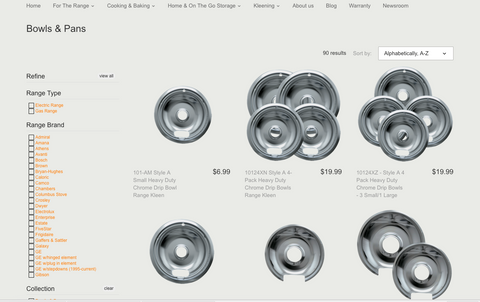
To start you'll want to select the correct drip bowls (or pans) for your range. If you visit our website here, you'll be able to select your range on the left-hand side to narrow down the selection, then find your match.
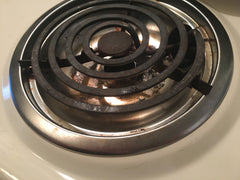
Once you've found your match and have ordered the replacements, check to see that the range is turned off and elements have cooled completely.
We'll use a Hot Point Range with plug-in style elements for this quick tutorial. Remove each element by lifting up slightly toward you, then pull away from the plug-in. You'll be able to quickly pull the elements out. Then remove the drip bowls by lifting them up and out. Wipe away any grease that may have collected below.
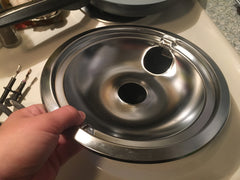

Align drip bowl element hole with element plug in and drop into place. Replace element by plugging back in, and continue until all drip bowls have been replaced. Stay tuned for more tips to whip your kitchen into shape as the holidays approach!